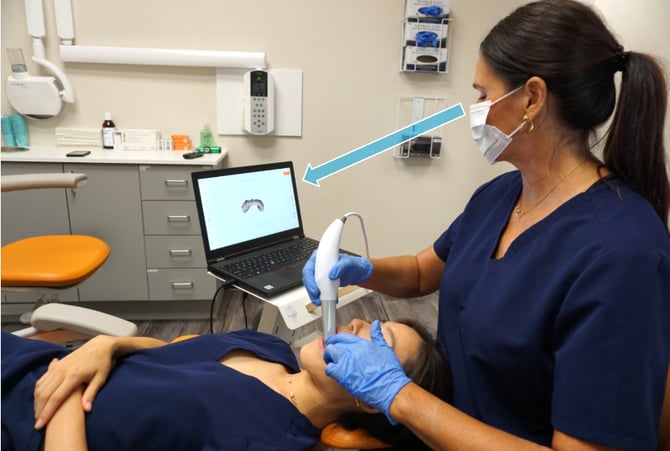
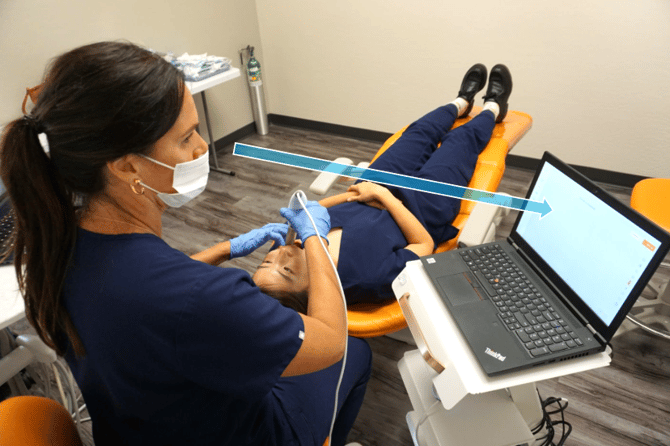
Operatory Layout
Make sure the patient, scanner and computer are ideally placed, so that the patient is comfortable, the screen clearly visible and the keyboard or touch-screen accessible while scanning.
Practice proper isolation
- Use air to keep preps dry
- Use hemostatic agents - retraction paste, impregnated cord, etc.
- Use the double-cord technique
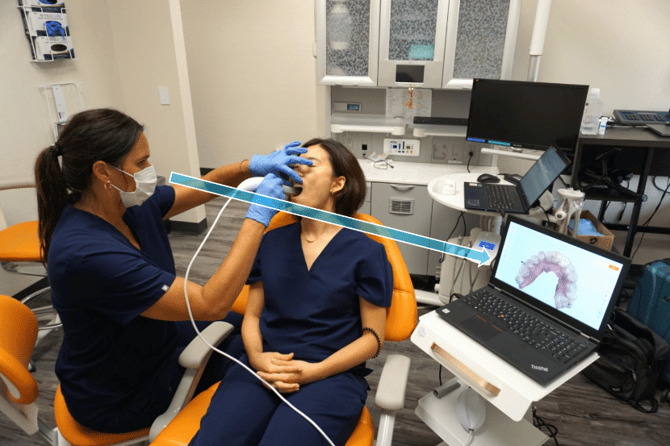
To scan the maxillary arch, rotate the tip to face up
To make the scanning process more comfortable for maxillary scans, rotate the tip by pressing the button located under the handpiece and rotate the scanner tip 180 degrees.
Make sure the tip locks correctly into place before starting to scan.
Watch the tutorial
To scan the mandibular arch, rotate the tip to face down
To make the scanning process more comfortable for mandibular scans, rotate the tip by pressing the button located under the handpiece and rotate the scanner tip 180 degrees into its default position.
Make sure the tip locks correctly into place before starting to scan.
Watch the tutorial
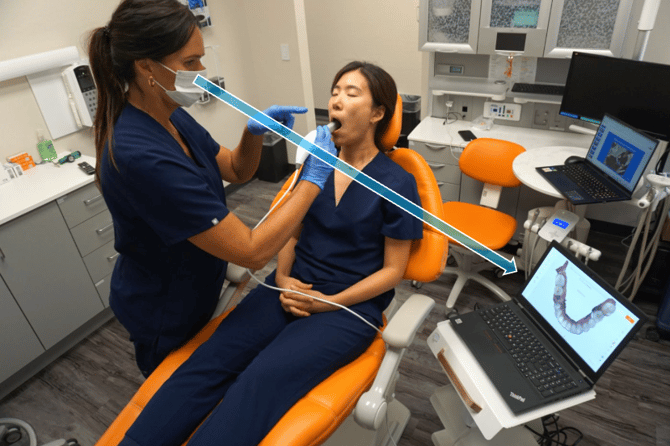
Avoid moving tissue: retract lips, cheeks & tongue.
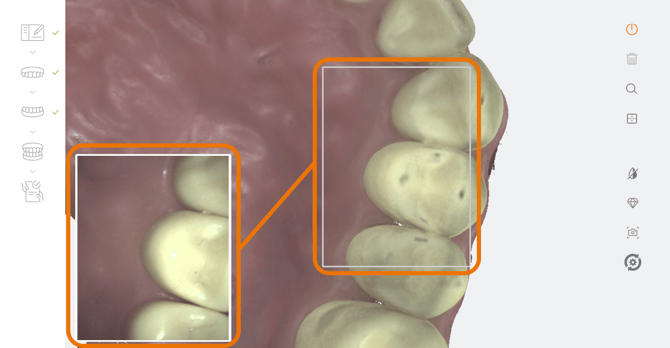
Scan Live View
While scanning, the Live View window in the lower left of the screen displays what the 3DISC Scanner is actually seeing. The digital 3D model is displayed in the middle of the screen.
- If the scanner loses connection with the reconstructed image, the Live View perimeter frame will be displayed in red: return the scanner tip to an already scanned section to resume the scan.
- If "Use Sound Guidance" is enabled in "Sound Settings", the system will indicate an interrupted scan by going silent.
You can select Live View options in the 3D Settings Menu.
Navigating between workflow steps
For ease-of-use, you can navigate between Scan Workflow steps using the up - down keys on your keyboard.
Using the ON/OFF button on the handpiece, you can pause the scanner at any time during the scanning process without leaving the scan workflow.
IMPORTANT - maintain scanning distance
Keep close to teeth (recommended distance from tip to tooth is 0-12 mm)
Scan Memory Use
Over-scanning may use up available memory space. When the warning “Scan memory is running low please conclude scan” is displayed on the screen, no more High Resolution frames will be added to the scan after this point.
Troubleshoot
Make sure that:
- The computer on which the 3DiscClinic™ software is installed is connected to an External Power Source.
- Your 3Disc™ scanner is correctly connected to the computer via the USB - C cable and the USB - C port of the computer meets the system requirements.
- If using a laptop computer, make sure the power supply is connected to a power outlet and not running on battery power.
- On laptop computers, battery settings in Windows should be configured to high performance mode only, with no battery saving option (Settings/System/Battery).