The Case Setup page
![]()
The Case Setup page enables you to:
- Enter Order Form details & options
- Select Scan options (Model Scan, HR, Pre-Op)
- Select Indications and Restorations options

Simply Scan
It is possible to start scanning without first selecting a patient profile or creating a case. This can be useful when pressed for time, as the scan dossier can be associated with the patient profile afterwards.
For more information click:Enabling Direct Scan
For information on accessing the Case Setup page click:Accessing the Case Setup page
Creating a Patient Case
- 1. Enter Order Form details & options
Case Setup: Order Form Options
Order Form options for the patient case are displayed in the top right-hand side of the Case Setup page.
For more information go to:Order Options
-
2. Select Scan options (Model Scan, HR, Pre-Op) (as required)
-
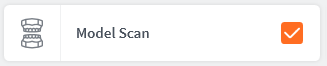
Model Scan

Select Model Scan
Select Model Scan when scanning a model and not a patient. When this scan option is selected, the algorithm is optimised specifically for the scanning of 3D models.
-
High Resolution (HR) Processing

Select HR Processing
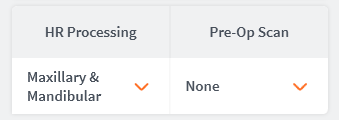
Select High-Resolution processing of scan data for:
- Maxillary
- Mandibular
- Maxillary & Mandibular
-
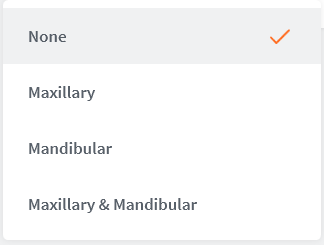
Pre-Op Scan
Include Pre-Operative Scan
.svg)
Check this option to include a Pre-Op Scan in the Scan Workflow.
A Pre-Op Scan is indicated by the following icon:
Case Setup: Scan Options
Scan options for the patient case are displayed in the top right-hand side of the Case Setup page.
For more information go toScan Options
-
3. Select Indications and Restorations options
To Choose a Restoration type and Restoration Options, follow the procedure described below:
Selecting Restorations
1. Click on a tooth/teeth to select for restoration.
-
To select multiple teeth:
Press and HOLD ctrl and select the teeth for restoration.
NOTE: You can assign indications, material and shade to multiple teeth in a single action.
Select a default Teeth Numbering System
You can select a default Teeth Numbering System in Case Setup Settings.

- When you click on a tooth, the Choose Restoration Type menu displays automatically.

You can adapt available restoration options to your specific restorative needs, by selecting a preferred Restoration Selector in Case Setup Settings
The following Restoration Selector settings are available:
Available Restoration Selector Settings
For more information go to: Selecting a Preferred Restoration Selector
2. Select an Indication in the left-hand Choose Restoration Type menu.
Corresponding options for the selected Indication are displayed in the expanded list.
- Click to select the desired option.
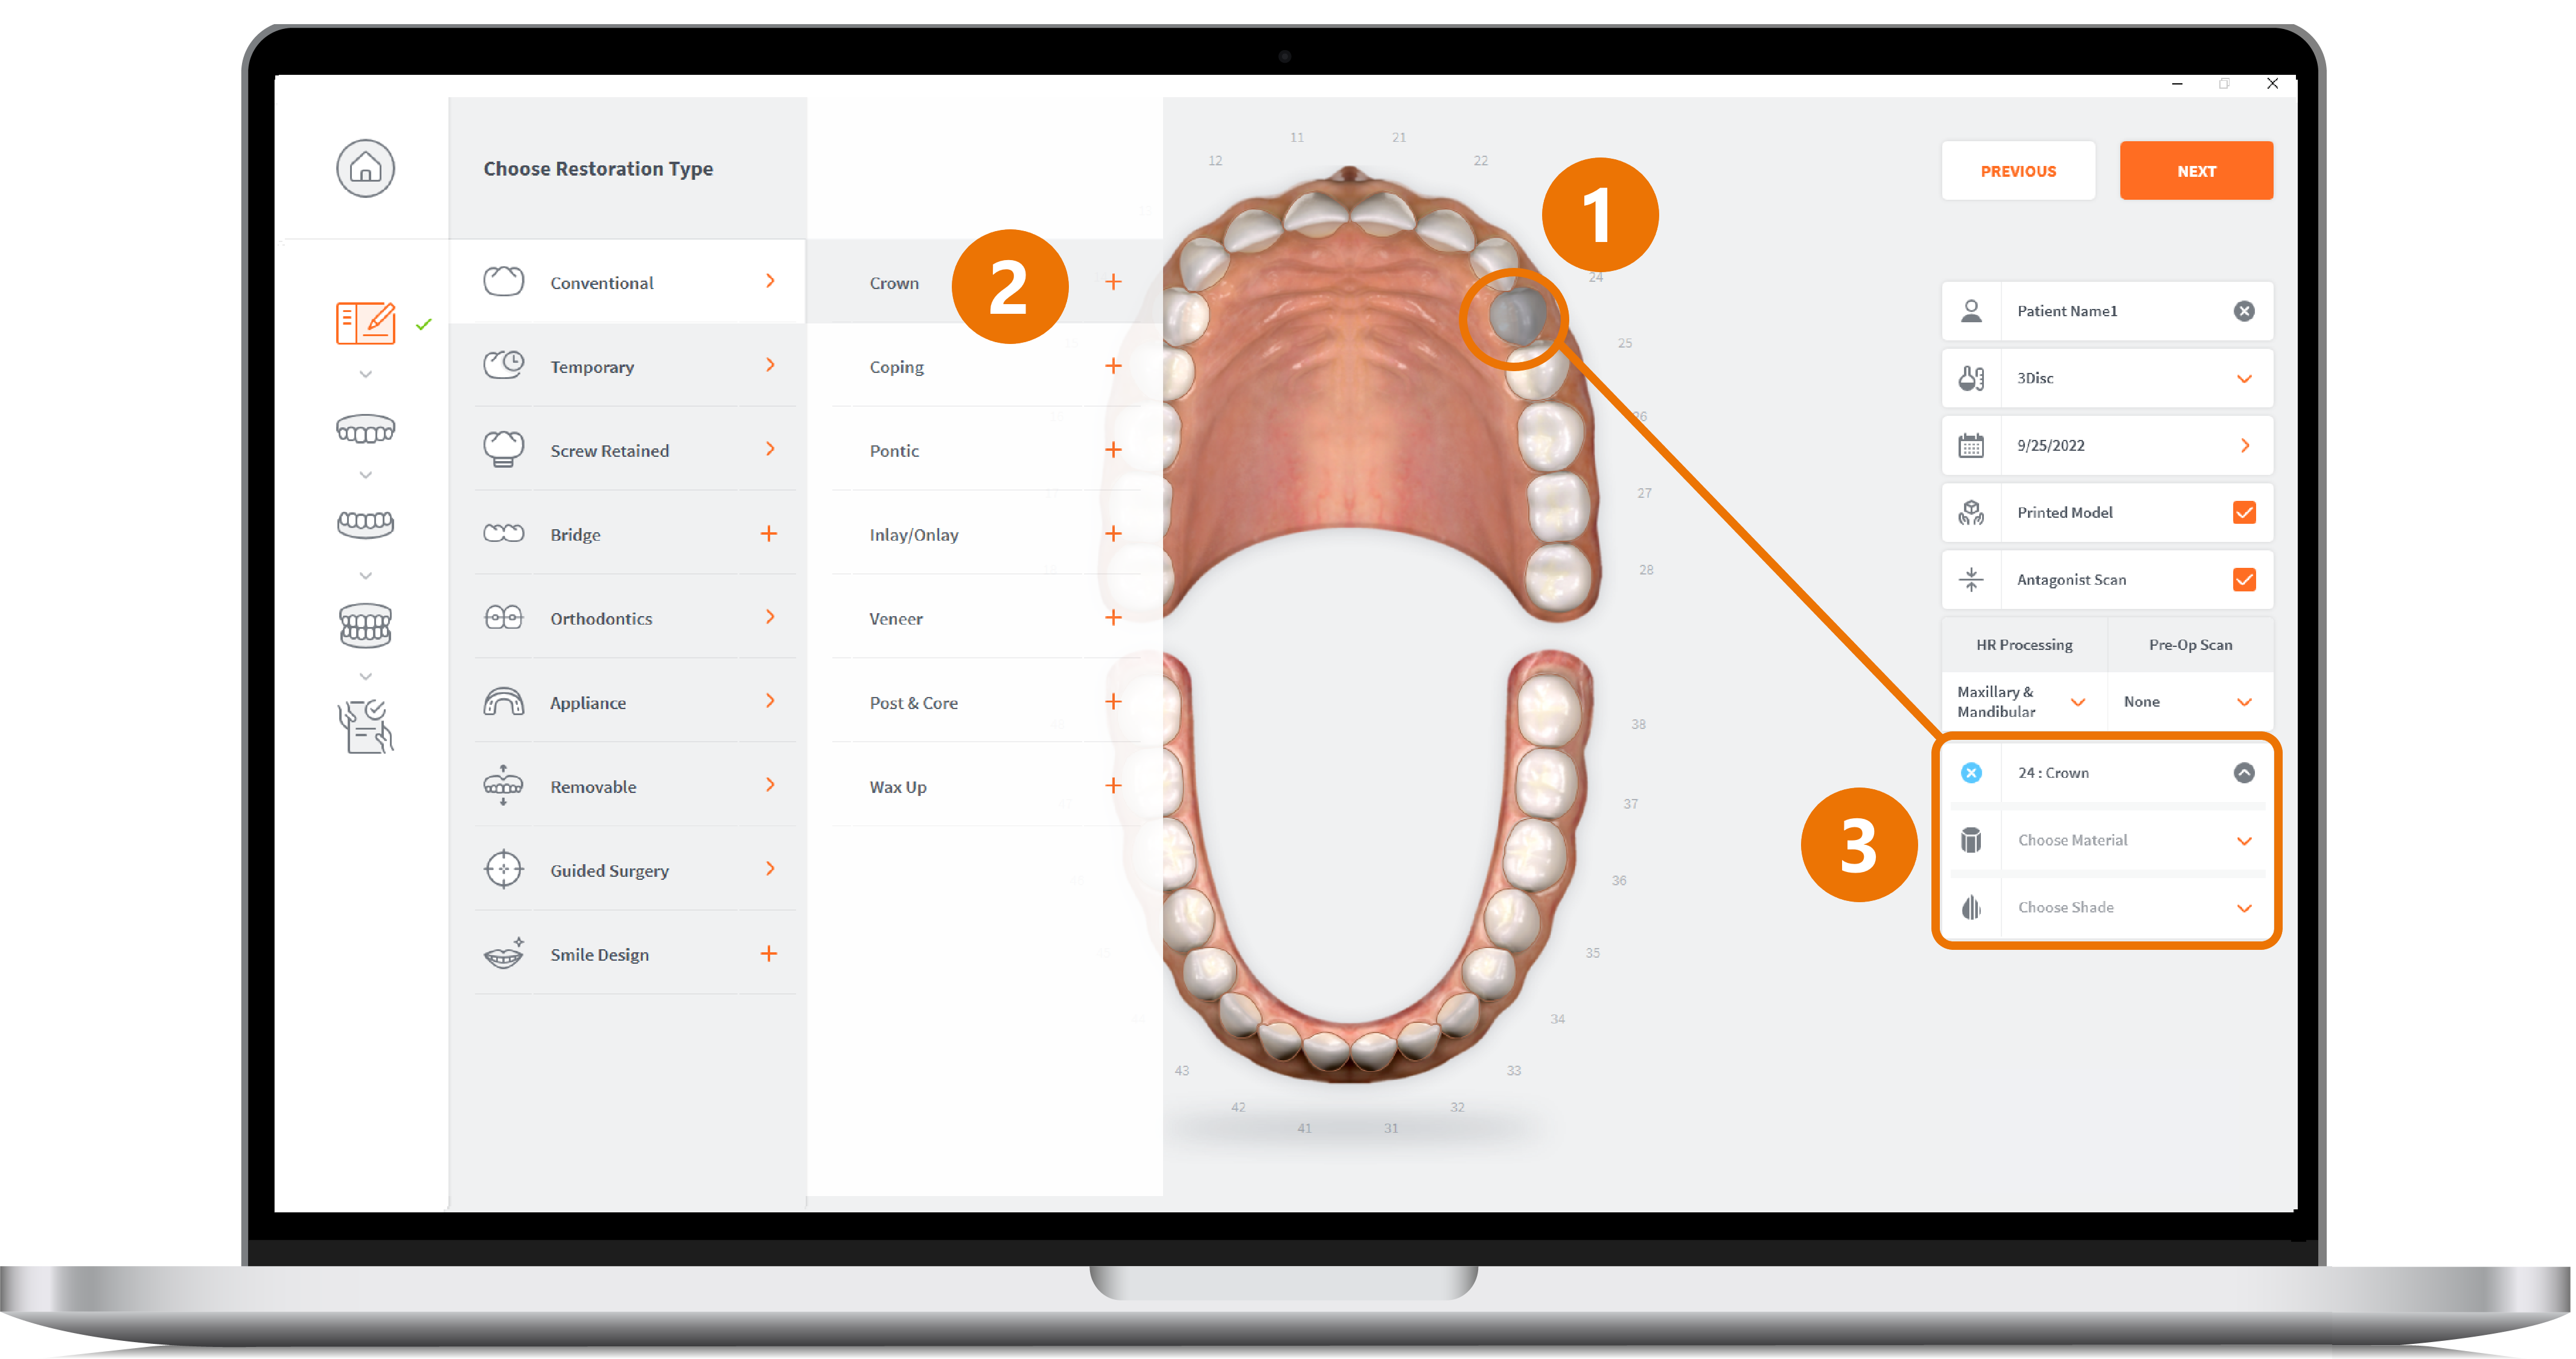
-
The selected Restoration Indication is displayed in the right-hand Case Setup menu.
-
3. Choose the desired Restoration Options for the Indication(s) selected by you.
| Restoration option | Description |
|---|---|
| Manufacturer | Available Manufacturers |
| System | Available Systems/Models from each Manufacturer |
| Connection Type | Available implant Connection types and sizes for the different Manufacturer Systems & Models |
| Material | Available printed model materials
|
| Shade | Available shade systems and shadesAvailable Shade Systems |
Restoration Options
-
To consult the types of Restorations Options available, visit:Restorations Options
-
To Edit Resorations in 3DiscClinic™ Settings, visit:Editing Restorations
-
To Edit Implant Options in 3DiscClinic™Settings, visit:Editing the Implants Library
-
For information on supported Indications, visit:Indications
3DiscClinic Scan Workflow
When you have completed the Case Setup step, you are ready to start the scan workflow.
To start scanning:
- 4. Click NEXT or click the first scan icon displayed in the 3DiscClinic™ Workflow Menu
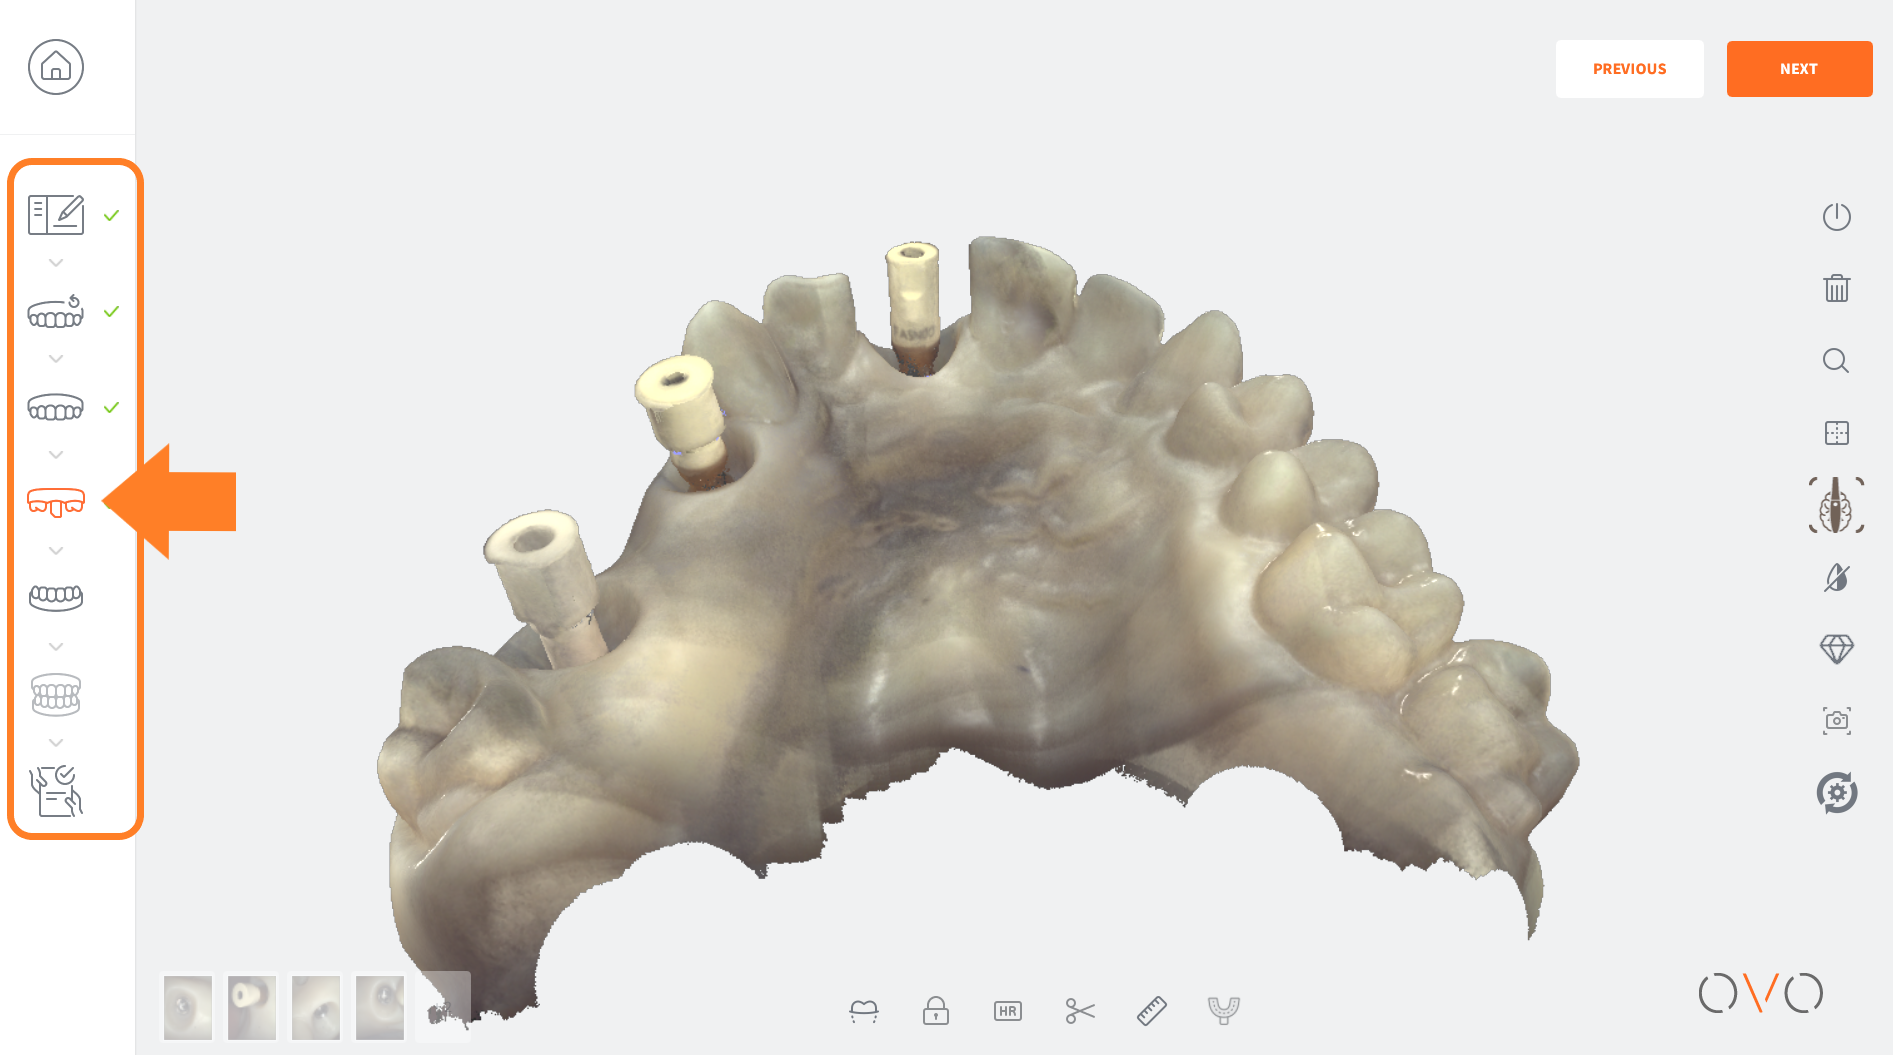
3DiscClinic™ Workflow Menu
The 3DiscClinic™ Workflow Menu will display the steps that correspond to the Restoration options you select in the Case Setup page.
![]()
When in the Case Setup page, the icon is highlighted in the 3DiscClinic™ Workflow Menu.
Already completed or in-progress Workflow Menu steps are indicated by a green checkmark.![]()
Depending on the Restoration(s) selected, the Workflow Menu will automatically display the corresponding steps.
For example, if an abutment indication is added to the case, a scanbody step will be added automatically to the Workflow Menu: