![3DISC_Logo_RGB_tiny.png]](https://help.3disc.com/hs-fs/hubfs/3DISC_Logo_RGB_tiny.png?height=50&name=3DISC_Logo_RGB_tiny.png)
The Case Setup page

The Case Setup page enables you to:
- Enter Order Form details & options
- Select Scan options (Model Scan, HR, Pre-Op)
- Select Indications and Restorations options
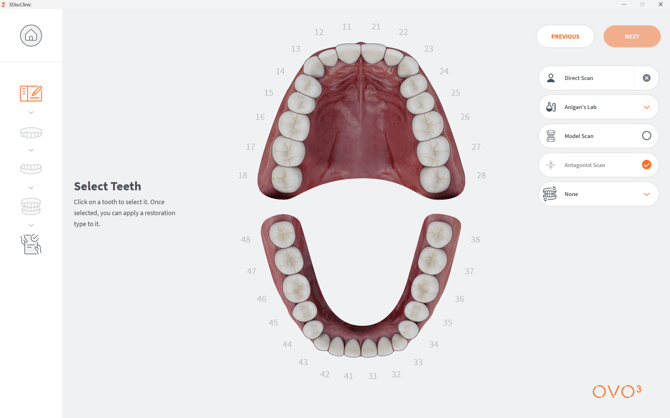
Simply Scan
It is possible to start scanning without first selecting a patient profile or creating a case. This can be useful when pressed for time, as the scan dossier can be associated with the patient profile afterwards.
For more information click:Enabling Direct Scan
For information on accessing the Case Setup page click:Accessing the Case Setup page
Creating a Patient Case
- 1. Enter Order Form details & options
Case Setup: Order Form Options
Order Form options for the patient case are displayed in the top right-hand side of the Case Setup page.
For more information go to:Order Options
-
2. Select Scan options (Model Scan, HR, Pre-Op) (as required)
-
Model Scan

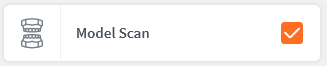
Select Model Scan
Select Model Scan when scanning a model and not a patient. When this scan option is selected, the algorithm is optimised specifically for the scanning of 3D models.
-
High Resolution (HR) Processing

Select HR Processing
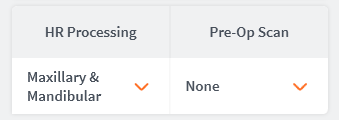
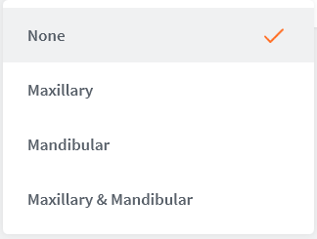
Select High-Resolution processing of scan data for:
- Maxillary
- Mandibular
- Maxillary & Mandibular
-
Pre-Op Scan
Include Pre-Operative Scan

Check this option to include a Pre-Op Scan in the Scan Workflow.
A Pre-Op Scan is indicated by the following icon:
Case Setup: Scan Options
Scan options for the patient case are displayed in the top right-hand side of the Case Setup page.
For more information go toScan Options
-
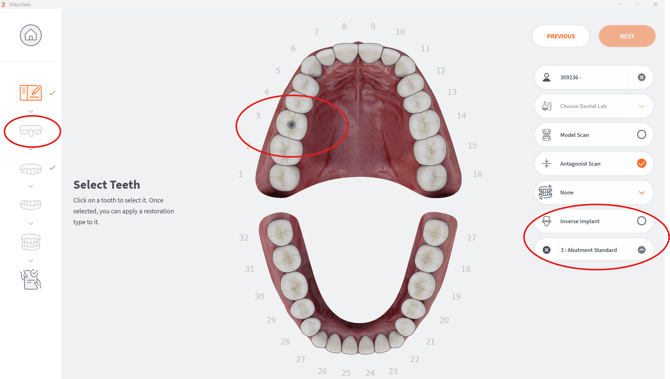
3. Select Indications and Restorations options
To Choose a Restoration type and Restoration Options, follow the procedure described below:
Selecting Restorations
1. Click on a tooth/teeth to select for restoration.
-
To select multiple teeth:
Press and HOLD ctrl and select the teeth for restoration.
NOTE: You can assign indications, material and shade to multiple teeth in a single action.
Select a default Teeth Numbering System
You can select a default Teeth Numbering System in Case Setup Settings.

- When you click on a tooth, the Choose Restoration Type menu displays automatically.
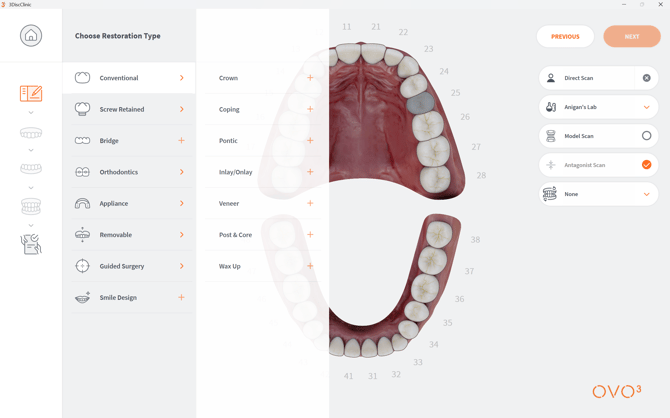
You can adapt available restoration options to your specific restorative needs, by selecting a preferred Restoration Selector in Case Setup Settings
The following Restoration Selector settings are available:
Available Restoration Selector Settings
For more information go to: Selecting a Preferred Restoration Selector
2. Select an Indication in the left-hand Choose Restoration Type menu.
Corresponding options for the selected Indication are displayed in the expanded list.
- Click to select the desired option.
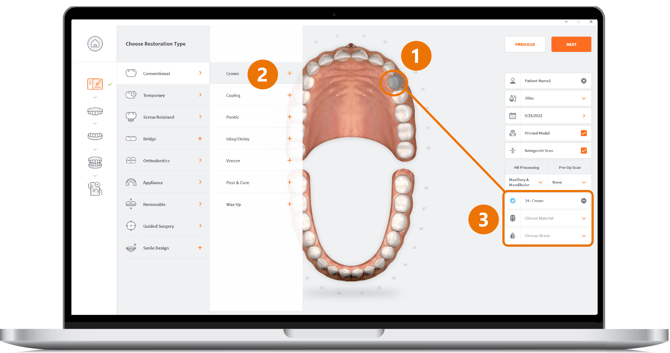
-
The selected Restoration Indication is displayed in the right-hand Case Setup menu.
-
3. Choose the desired Restoration Options for the Indication(s) selected by you.
| Restoration option | Description |
|---|---|
| Manufacturer | Available Manufacturers |
| System | Available Systems/Models from each Manufacturer |
| Connection Type | Available implant Connection types and sizes for the different Manufacturer Systems & Models |
| Material | Available printed model materials
|
| Shade | Available shade systems and shadesAvailable Shade Systems |
Restoration Options
-
To consult the types of Restorations Options available, visit:Restorations Options
-
To Edit Resorations in 3DiscClinic™ Settings, visit:Editing Restorations
-
To Edit Implant Options in 3DiscClinic™Settings, visit:Editing the Implants Library
-
For information on supported Indications, visit:Indications
When you have completed the Case Setup step, you are ready to start the scan workflow.
To start scanning:
- 4. Click NEXT or click the first scan icon displayed in the 3DiscClinic™ Workflow Menu
3DiscClinic™ Workflow Menu
The 3DiscClinic™ Workflow Menu will display the steps that correspond to the Restoration options you select in the Case Setup page.

When in the Case Setup page, the icon is highlighted in the 3DiscClinic™ Workflow Menu.
Already completed or in-progress Workflow Menu steps are indicated by a green checkmark.
Depending on the Restoration(s) selected, the Workflow Menu will automatically display the corresponding steps.
For example, if an abutment indication is added to the case, a scanbody step will be added automatically to the Workflow Menu: