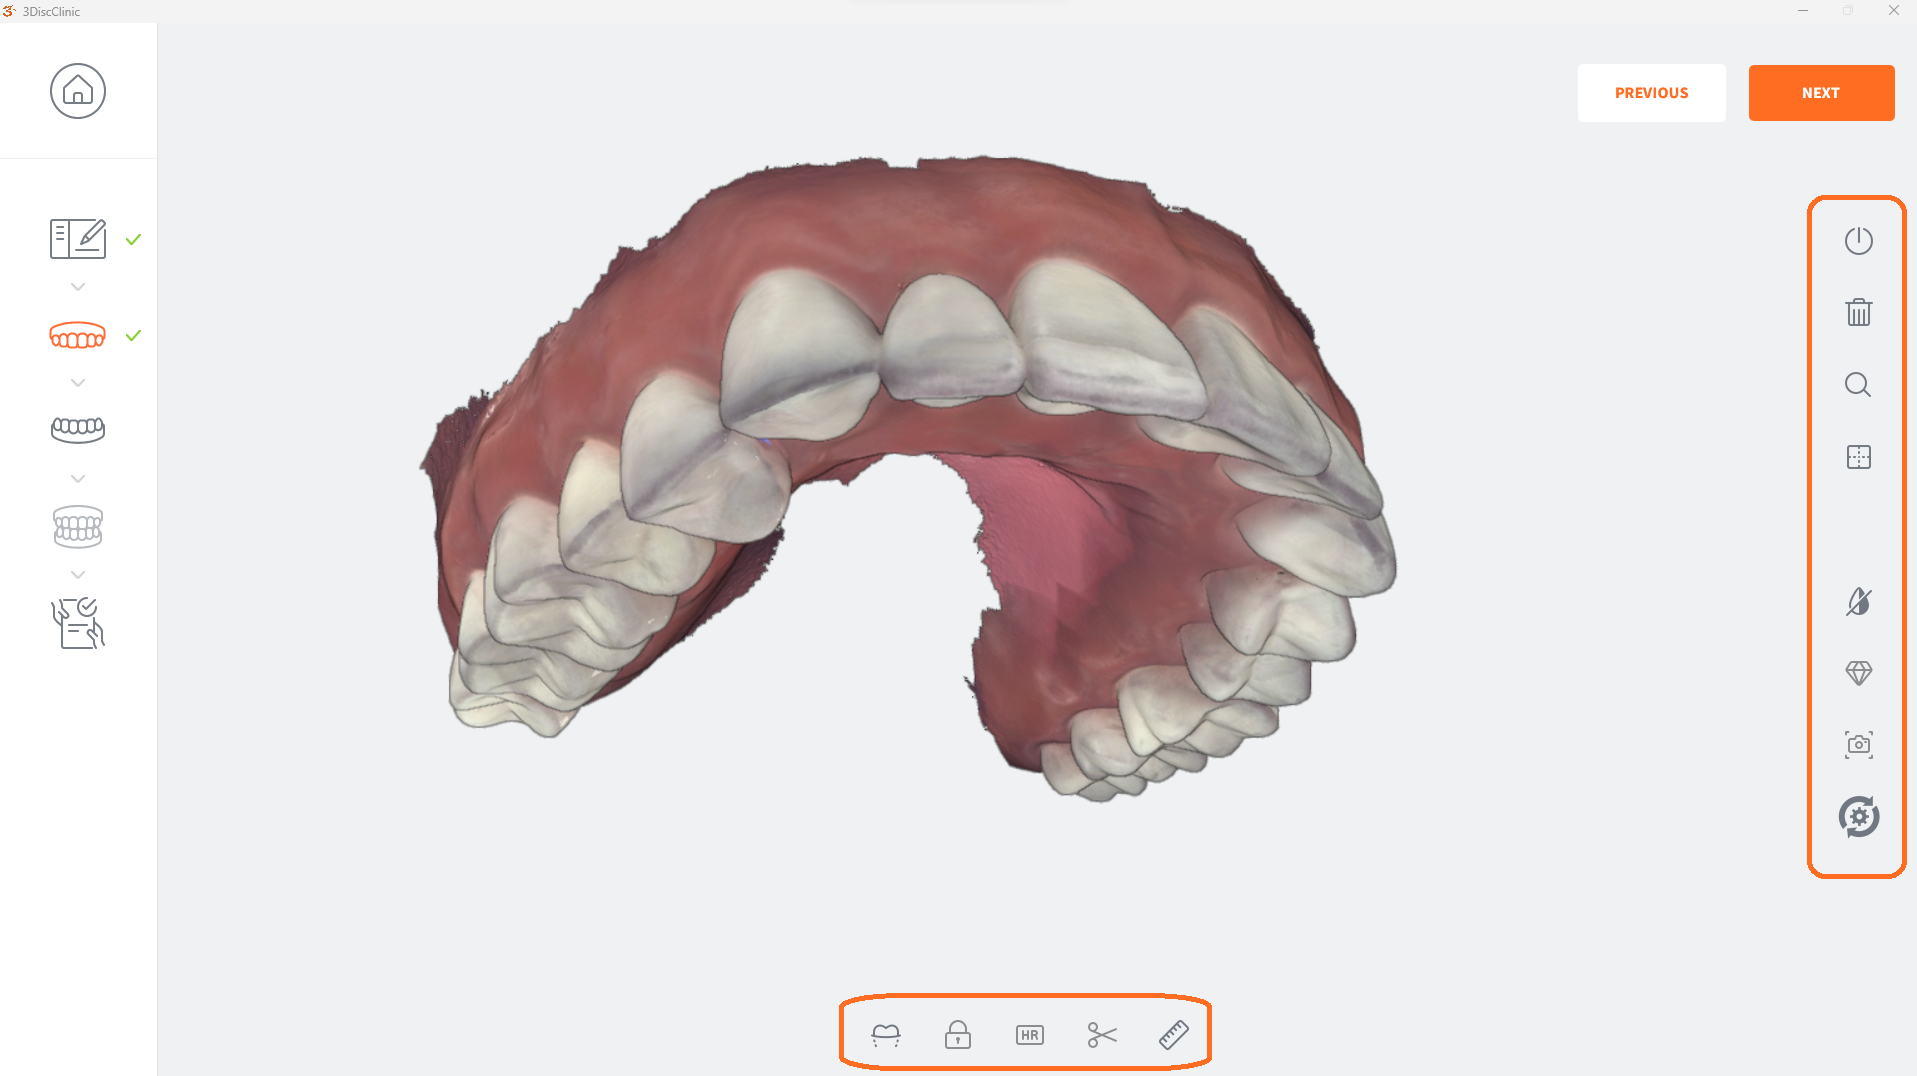
When selected in the Case Setup page (for restoration work or as antagonist scan), the Mandibular scan step is displayed after Maxillary scans (including Maxillary Pre-Op scans) in the 3DiscClinic™ Workflow Menu.

The 3DiscClinic™ Scan Workflow
The Workflow Menu will display steps that correspond to the Restoration options selected in the Case Setup page.
Workflow Menu steps in progress are indicated by a green checkmark.
To directly access the Mandibulararch, click on the corresponding icon in the Workflow Menu.
Preparing to Scan the Mandibular Arch
-
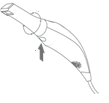
If you rotated the scanner tip to scan the Maxillary arch, rotate the scanner tip to face down. Make sure the scanner tip clicks into place.
-
Avoid moving tissue: retract lips, cheeks & tongue
Scanning Procedure
-
1. Place the sterilized scanner tip in the patient's mouth flat upon the third molars, keeping the scanner tip close to or touching the teeth.
-
2. Switch on the Heron™ IOS Scanner by pressing the ON/OFF button on the scanner handpiece.
-
You may pause the scan at any moment by pressing the ON/OFF button on the handpiece.
-
3. Repeat the same scanning strategy for the Mandibular arch as described for the Maxillary Arch, but in the following order:
1. Occlusal – 2.Lingual – 3.Buccal
When the scan is completed, the 3DiscClinic™ software will process the Mandibular scan data (this may take about a minute).
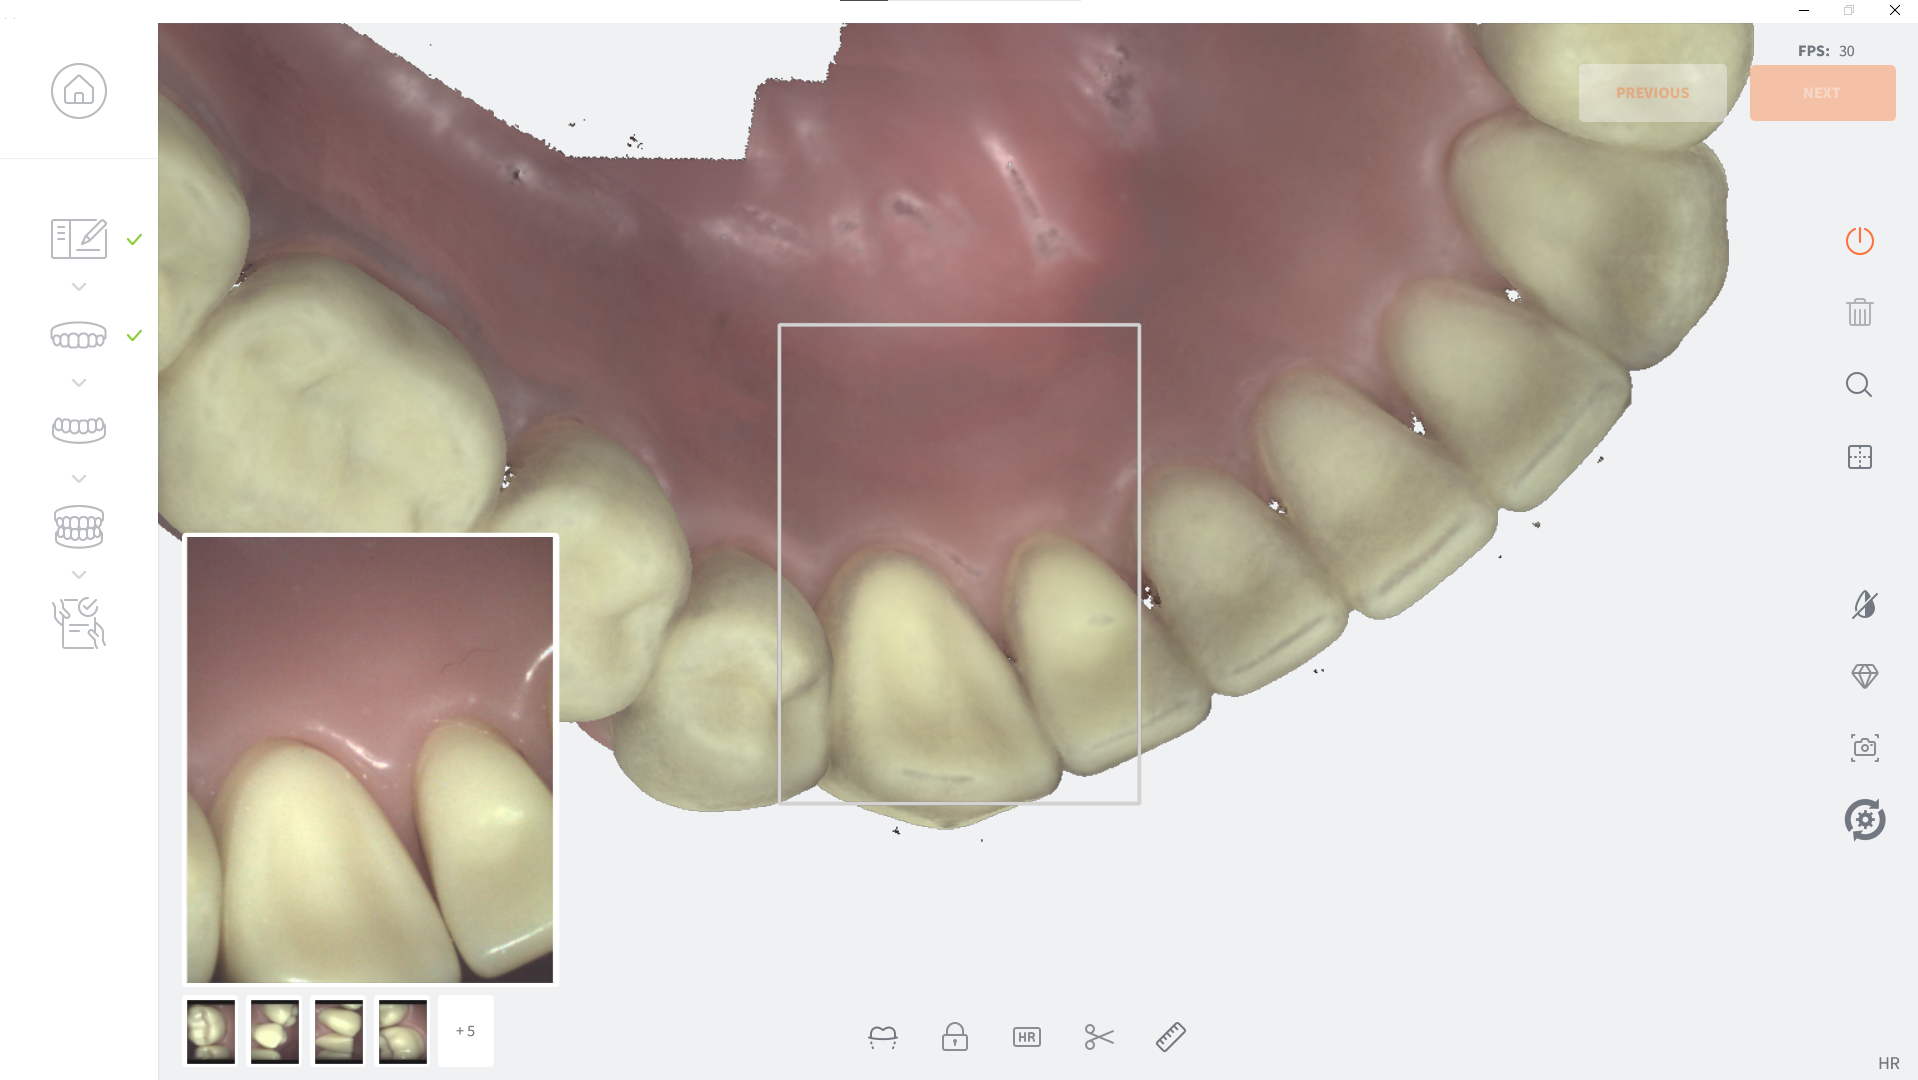
Using Live Scan Tools
During the scan procedure, once you have scanned a part or all of the arch, Live Scan Tools are displayed below the 3D Model.
- For information on using Live Scan Tools visit:Live Scan Tools
Next Steps
When you have scanned and edited (if required) the Mandibular 3D Model, you are ready to move on to the next step of the 3DiscClinic™ Scan Workflow.
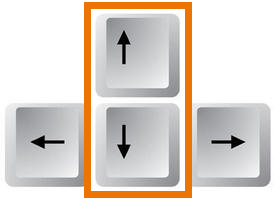
- Step 6. Click NEXT, or select the next step in the left-hand Scan Workflow Menu by clicking on the icon or by using the down ↓ key on your keyboard